 |
|
AN ON-LINE
STITCH & TAPE MANUAL |
|
Stage 4 - Epoxying and Taping the Hull Plank/Panels Together |
|
| Having
got the canoe into the correct shape we can now start making it into a
complete shell by bonding the edges of the planks/panels (the chines and
centreline joins) with a combination of glass woven roving tape and
epoxy resin.
When this was first done some 40 or 50 years ago (the Mirror 11 dinghy was one of the first), Polyester resins were used - these however, whilst a lot cheaper than epoxies, are not as strong, long lasting or bond as well to the wood, as epoxy. |
|
 |
 |
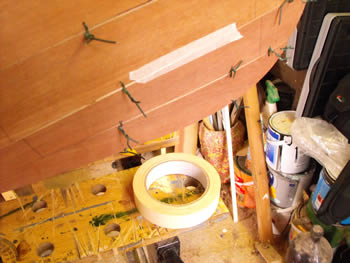
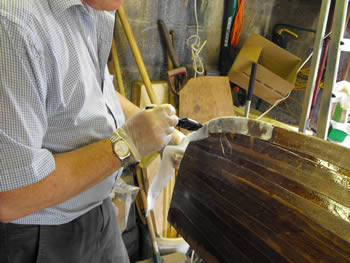
| 30.
Tape over the gap on
the outside. |
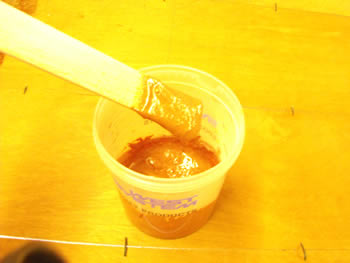
31.
Mix epoxy resin with
it’s hardener and then mix in some filler powder (I use WEST 407
powder) to get a thick mayonnaise and then— |
 |
 |
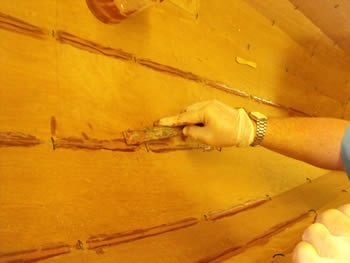
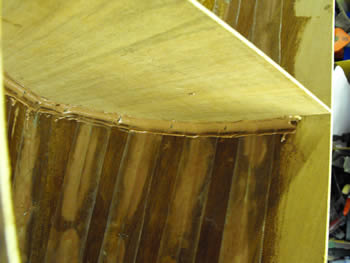
| 32.—apply
to the inside of the seams in
between the stitches—use it to fill any gaps. Apply deeper epoxy
fillets at the bow and stern seam over the stitches (which will be left
in place. |
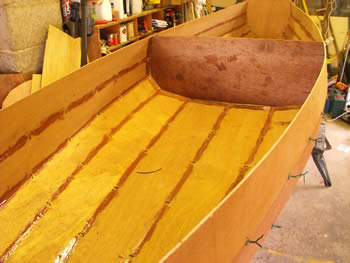
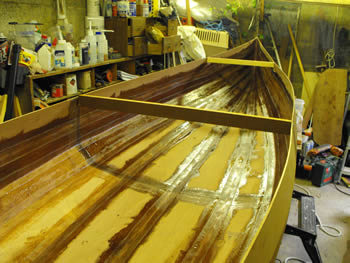
33.
Keep the bulkheads in place and
also fit the centre mould too, whilst the thickened epoxy cures. |
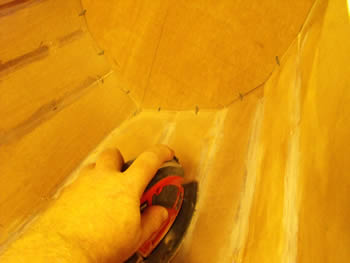 |
 |
| 34.
When cured, remove all the stitches and
lightly sand down—I use a ‘mouse’ sander to get into the corners.
The stitches in the bow/stern should be left in. |
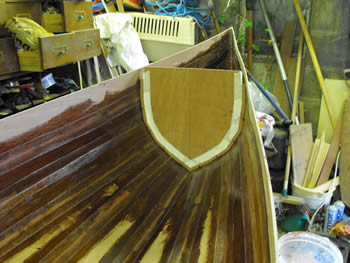
35.
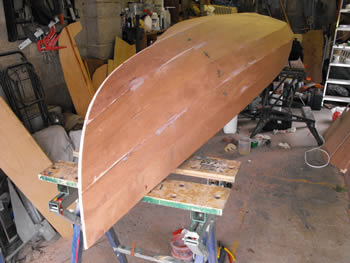
When we tape we
do not want the bulkheads or centre mould
in the way—fit temporary beams across the boat—nail them in
place, remove the bulkheads and mould. |
 |
 |
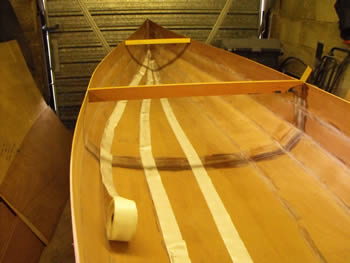
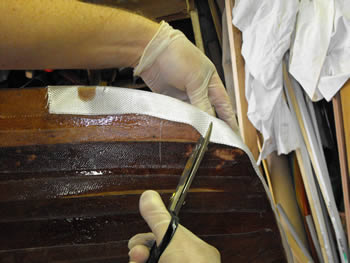
| 36.
Cut the tape to length—then
fold each length carefully and store in order of use. |
37.
Apply resin and hardener to the centreline seam —
lay the tape into it brushing it gently to get it straight and apply
more resin if required to wet it out. |
 |
 |
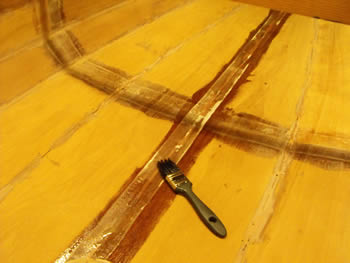
| 38.
Work your way up applying
the tape and resin to each chine seam—use additional resin if required
to wet the tape out but do not over use the resin as it will run and
make a mess. |
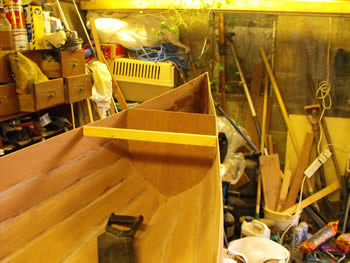
39.
When semi-cured, refit the bulkheads—note
the tape on the bulkhead applied approx. 12mm from the edge of the
bulkhead—this is to help make a neat epoxy fillet join later and the
slots cut in the top corners to accommodate the inwales. |
 |
 |
| 40.
Turn the canoe over when
the inside seams are cured, fill the seams on the outside, clean up the
bow/stern and if you are going to, tape the outside of the seams. |
41.
The bow/stern are taped next—the
tape is cut over length and cut each side where the tape goes round the
curve of the bow. |
 |
 |
| 42.
As you apply the resin to
the bow/stern tape let the tape each side of the cuts overlap each
other. |
43.
Turn the hull upright and
epoxy fillet the bulkheads to the hull on the
‘chamber/compartment’ side of the bulkheads only at this stage. Note
that the stitches holding the bulkhead in place are left in and are
simply epoxied over. |
| Once the inside of the plank/panel chine joins has cured you can turn the hull over, clean up the chines on the outside, fill them with thickened epoxy and tape over them - note, some builders do not bother taping the outside seams (chines) except perhaps the centreline seam - this is fine for most applications unless the canoe is going to receive heavy use in which case the chine seams on the outside should be taped. | |