 |
|
CONSTRUCTING A STITCH & TAPE BOAT |
|
INTRODUCTION Stitch and tape (or tack and tape) construction has been around now for some while - the Mirror dinghy was one of the first examples and since then, the method has been used for a wide range of types and sizes of craft - from canoes and dinghies to motor yachts in excess of 40'. Essentially, it is a quicker, easier and often cheaper method of producing a plywood hull. Ply hulls were traditionally made from the "inside out" - in other words, a solid framework was built first on a strongback. This had longitudinal frame components - chine and gunwale stringers and hog (internal keel) added and everything was beveled ready to receive the ply hull skin which was put on oversize and then trimmed back. Whilst this method produced a very strong hull it had the disadvantages of producing a heavier hull because many of the frame components became redundant after the hull was complete - it also took longer to make and required more in the way of carpentry skills and because of the redundant materials, it cost more than necessary. The advent of modern resins (first Polyester based and then Epoxy based) married together with woven glass allowed a radical rethink of the traditional form of plywood hull construction - instead of working from "inside out", stitch and tape construction allows you to work "outside in". With this method, the builder starts with the hull panel shapes which are given on the boat plans - modern computer software now enables Selway Fisher Design to model the hull, check it's hydrostatic properties (volume of displacement, stability etc) and then to fair the hull and develop the hull panel shapes very accurately. Having marked and cut out the hull panels and then joined them to make up the full panels (most plywood comes in 8' sheets and therefore a panel will be made up from several pieces), the panels are stitched together. This forms a "floppy" basket which is trued up and stiffened by inserting pre-shaped ply bulkheads and frames into the hull. This gives the basic hull shape - the stitched seams are then finished with a combination of glass tape and either Polyester or Epoxy resin. There are many variations on this theme and combinations of thickened epoxy resin fillets plus glass tape etc can be used depending on the type and size of boat being built - one interesting join is the "combi-seam" which utilizes a square wood stringer plus an epoxy fillet beside it - used on larger craft, this seam combines the advantages of both a traditional wood chine stringer and an epoxy seam - FOR FURTHER DETAILS OF STITCH AND TAPE CONSTRUCTION CLICK ON THE LINK BELOW |
|
|
|
THE STITCH & TAPE METHOD For this, we will use one of our canoes - the Christine - as an example along with some further photos from bigger boats.
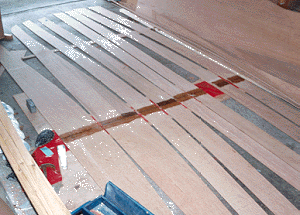
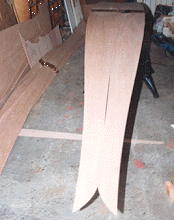
A. Having marked and cut out the plywood panel (plank) shapes sets of planks are planed up together (with the Christine, the bow and stern are the same shape and therefore there will be 4 of each shape - bow, stern, port and starboard).
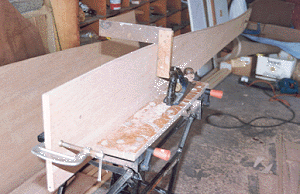
B. Because the panels (planks) are longer than the standard 8' sheet of plywood, the bow and stern parts are joined - in this case with a simple glass tape butt strap.
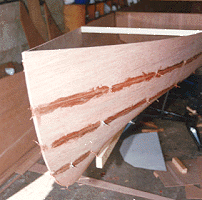
C. The 2 bottom panels are laid side by side and stitching is started along the centreline.
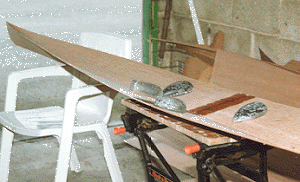
D. The bottom panels are completely stitched along the centreline and the panels are held apart by using weights in this case.
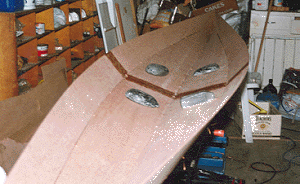
E. The next pair of panels are stitched to the bottom panels - stitches are put in every 8" to 12" and may be scrap copper wire, garden binding wire or nylon cable ties which are easier on the fingers.
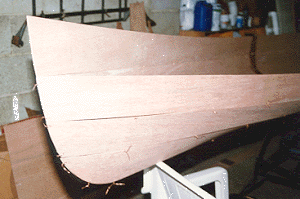
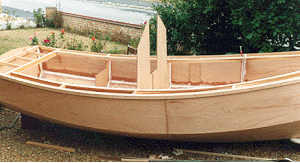
F. The third set of panels has been stitched into place and the first of the fourth and last set is also in place - for a canoe, it is better to start stitching from the middle of the boat and then work towards the ends. The picture to the right shows the Ptarmigan 17 hull stitched together with the forward ply bulkhead in place - note the internal ply butt straps joining the panel lengths together, forward of the bulkhead.
G. All the panels have been stitched and wood battens are in place to brace the gunwales apart and a temporary hardboard section has been added to get the hull into it's correct shape - in this example, thickened epoxy has then been put into the chine seams to "tack weld" the panels together before taping the inside of the seams.
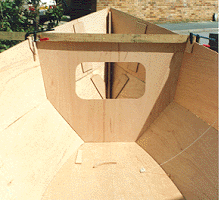
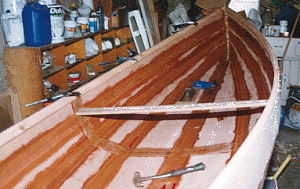
H. The inside of the chine and centreline seams is glassed with epoxy resin and allowed to cure - the inwales have also been fitted. The picture right shows the Ptarmigan 17 with internal seams epoxied and taped and ply bulkheads in place.
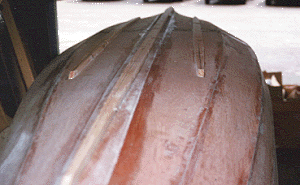
I. The hull is turned over and the outside of the seams is glassed and the bottom runners fitted prior to cleaning up - in many cases the outside glass tape is omitted.
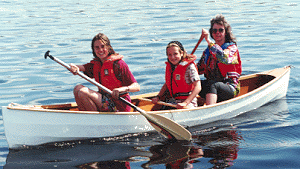
J. The finished canoe! - in this case the materials were mainly household products - exterior ply, deal and paints and therefore the costs are minimal - in the case of Christine around £100. This is just a quick over view of the stitch and tape method - there are many variations - the tools required are minimal - just domestic DIY tools and many of our stitch and tape designs have been made by first time builders with no wood working skills. |
|
For the
On-Line Manual of Stitch & Tape Construction |
