|
|
|||||||||||||||||||||||||||||||||||||||||||||||||||||
|
ART DEMONSTRATIONS |
|||||||||||||||||||||||||||||||||||||||||||||||||||||
|
|
|||||||||||||||||||||||||||||||||||||||||||||||||||||
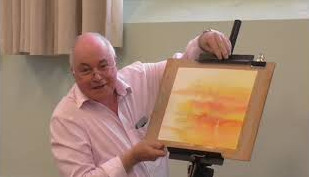
| Over
the past 10 years or so I have been asked to give art demonstrations at
several rt clubs and especially to the Lacock Art Group for whom I was
Chairman for 5 years.
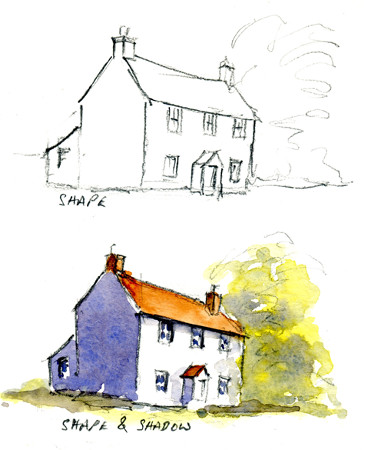
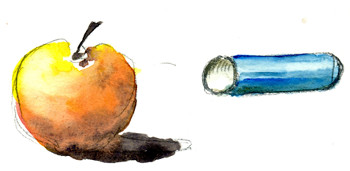
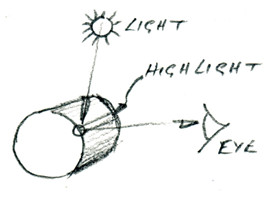
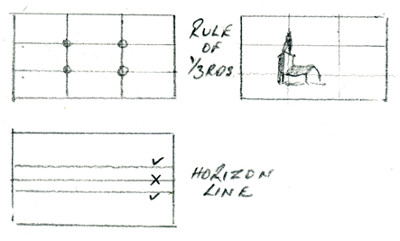
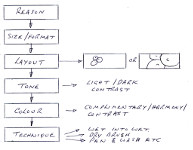
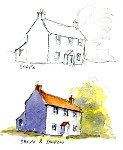
For most of the demonstrations, I produced a hand-out that the members could keep and refer to in the future and I am making these available here as emailed PDF files for those who might find them useful - in 2 Packs. Some have just a couple of pages and others are more extensive with several helpful illustrations. |
|||||||||||||||||||||||||||||||||||||||||||||||||||||
|
|
||||||||||||||||||||||||||||||||||||||||||||||||||||


|
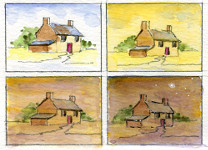
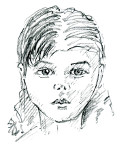
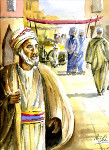
SAMPLE OF A DEMONSTRATION HANDOUT |
|||||||||||||
|