 |
|
AN ON-LINE
STITCH & TAPE MANUAL |
(Last up-dated 21/09/09)
| Tools, Equipment & Materials Needed | |
| The
tools required to make a stitch & tape boat are fairly basic and
will be found in most homes where someone has done some DIY - those
mentioned below may be added too as there are many others that would be
useful.
The workshop in this case is a standard single garage - it needs to be well ventilated (by opening the door!), well lit (a couple of portable flourescent lights) and you must be able to heat it so that the epoxies can cure properly - for much of a very wet summer in the UK there was no need for additional heat but otherwise, I use a small electric heater. The materials were, apart from the epoxies, glue and tape, sourced from local builder's merchants and DIY stores. The ply is exterior, the solid wood is Deal (joinery grade Pine) and most of the fastenings are brass screws. |
|
 |
 |
|
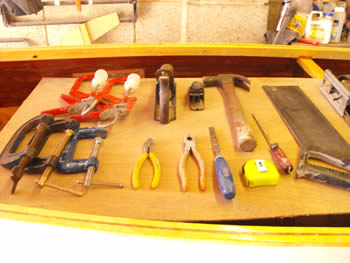
A. The hand tools consist of as many cramps as you can get hold of
(I used just 8), a smoothing plane, small hand block plane, snips,
pliers, 12mm chisel, tenon saw, hammer (and a mallet if you have one)
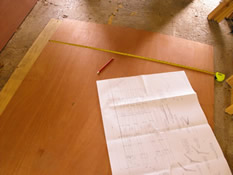
and a set of screw drivers plus a carpenter's square. For marking out you need loads of pencils, straight edge (good straight piece of wood), tape measure, ruler and as large a square as you can get. |
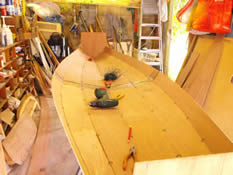
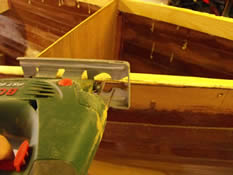
B. For power tools, the essential are a drill, jig-saw and a hand sander - the small belt sander is useful although do be careful how you use it - it can dig into wood viscously! |
|
|
|
|
C. Epoxies and glues -
for a typical 16' canoe you will need around 2kg of epoxy resin plus some
low density filler, mixing containers and mixing sticks and the mini pumps
that most suppliers have are very useful in measuring out the correct
amounts of resin and hardener and in helping you handle the resin without
it going everywhere. Cleaning fluid is a must plus a dust mask for when
you sand the epoxy down and always wear surgical gloves when using the
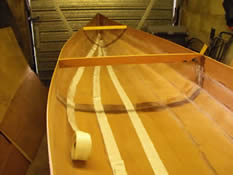
epoxy. You will also need a small quantity of 75mm woven roving tape and
around 50-60 metres of 50mm wide tape. |
|

|
Click
on the pictures below to go directly to the different stages in building
a canoe |
||
 |
 |
 |
| Marking & Cutting Out the Planks | Joining the Plank Lengths | Stitching the Planks Together |
 |
 |
 |
| Epoxying & Taping | Fitting Gunwales & Seats | Decking & Finishing |