 |
|
AN ON-LINE
STITCH & TAPE MANUAL |
|
Stage 3 - Stitching the Hull Plank/Panels Together |
|
| This
is the exciting stage - having prepared our planks we will now start to
form the hull by joining the planks/panels together along their edges
(at the 'chines' and centreline) with stitches. I use nylon coated
garden binding wire but some prefer old copper household cabling or
plastic cable ties.
The shape of the canoe will look awful to start with but be patient and reserve judgment until all the planks are stitched together and the bulkheads are in place. |
|
 |
 |
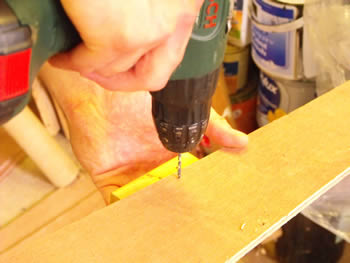
| 18.
Drill holes for the stitches—match
up each pair of planks and drill 2.5mm holes roughly 6mm from the edge
of the plank at approx. 250mm centres—along both edges of the bottom
plank (No.1) and the top edge/chine of the other panels/planks except
the top plank—hold a wood block under the planks as you drill so that
the veneer on the underneath plank does not break out as the drill goes
through. |
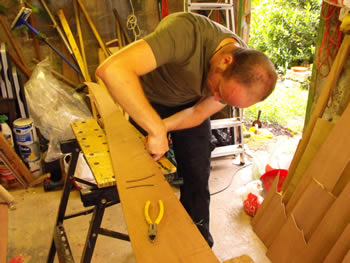
19.
Stitch the bottom pair of planks together along the centreline—I
use medium weight garden binding wire—clip off 70mm lengths, push
through the holes and twist the ends together on the outside of the
plank—do not tighten the stitches at this stage. |
 |
 |
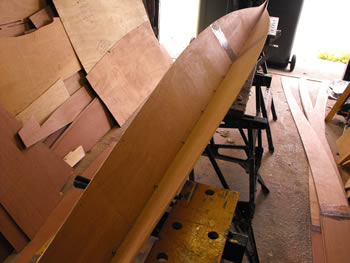
| 21. Stitch the next pair of planks to the first pair—start at the centre of each plank and again do not tighten the stitches. | |
 |
 |
| 22.
Continue with the third pair of planks—do
not worry about the overall shape of the canoe and leave the chine seams
at the ends of the planks un-stitched. |
23.
Start to pull the planks into their correct position—stitch
the 2 bulkheads in place at the lines previously marked on the inside of
the planks—drill a pair of holes 15mm apart—one each side of the
bulkhead position and drill a hole through the bulkhead to match, -
then stitch through. |
 |
 |
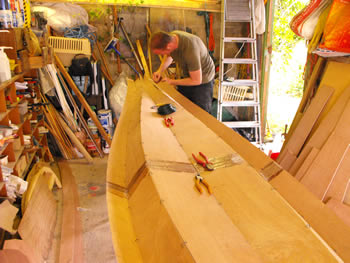
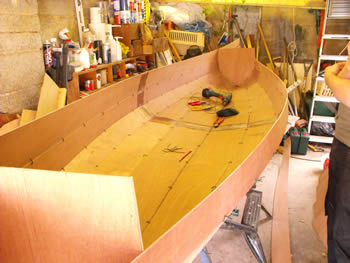
| 24.
Continue by stitching the
4th set of planks in place. |
25.
As already mentioned, do not stitch the ends of the planks together
yet and leave the last part of the chines unstitched too. |
 |
 |
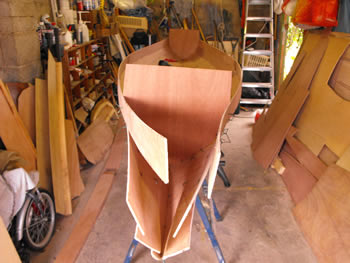
| 26.
Follow with the 5th and last plank. |
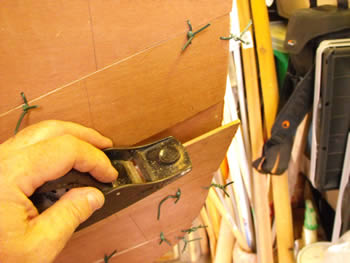
27.
Towards the bow and stern—release
the stitches and shave the plank edges if the planks will not lie
together without overlapping. Look at the shape of the bow/stern from
the side and use a plane or sander to make any adjustments necessary to
get a fair curve. |
 |
 |
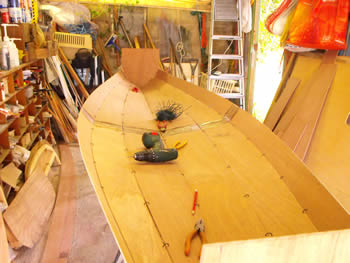
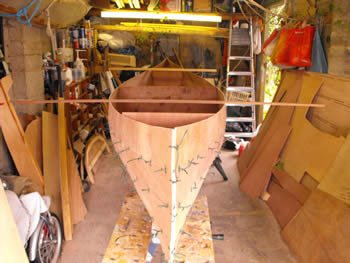
| 28.
Tighten all the stitches—start
with the centreline seam and work up the sides and towards the
ends—make sure that the inner corners of the plank edges come together
without overlap. When
all the stitches have been tightened use
2 or 3 lengths of wood as ‘winding sticks’ across
the gunwales to check for twist—if the sticks appear parallel there is
no twist—if there is twist in the hull, adjust the stitches. |
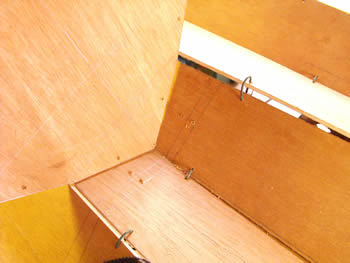
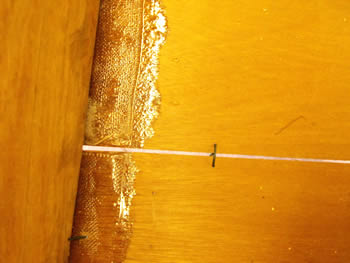
29.
Gaps like this (right) are fine and
will be filled with thickened epoxy—larger gaps should be filled with
slivers of ply epoxied in place. |