
| Back to
the How I Paint Page
|
|
|
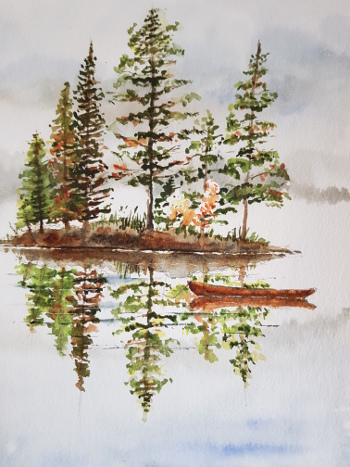
WET INTO WET |
|
 |
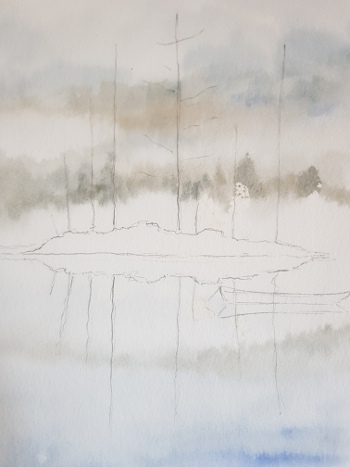 |
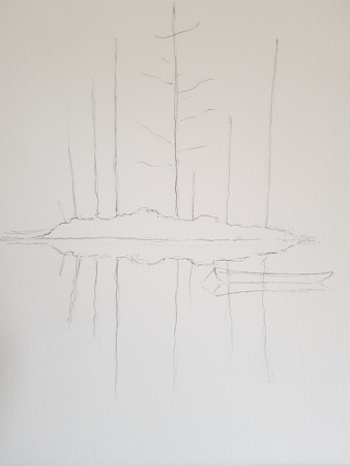
| 1. After a simple and minimal pencil sketch I splattered some masking fluid over some of the tree shapes - note I do not normally like to use masking fluid and if I do, it is to splatter it for areas that catch the light. | 2. Wet the entire painting with clear water - using light Paynes Grey start with the sky, dropping slightly stickier PG as you go. Do the same with the lake getting darker towards the bottom - whilst wet, drop in a little Burnt Umber+PG in the sky and some Ultramarine Blue. Drop in some UB at the bottom of the painting to warm up the water closest to you. |
 |
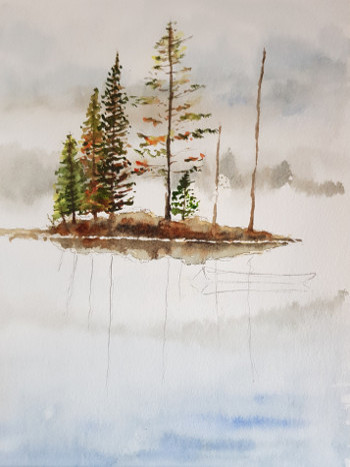 |
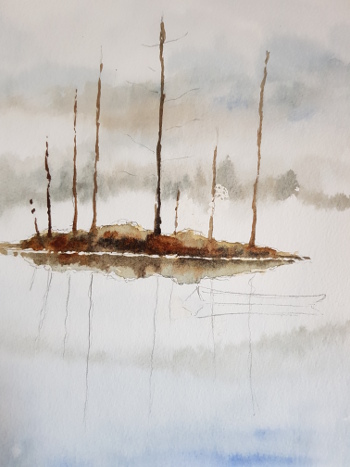
| 3. Dry and then use some Yellow Ochre followed by PG + YO for the island and it’s reflection. Establish the tree trunks with some light BU. | 4. Paint in the foliage with horizontal strokes using Lemon Yellow and whilst wet drop in Green (I use Green Apatite Genuine (DS)) – don’t make all the trees look the same. |
 |
|
| 5.
Dry and then pain the skiff with YO followed by BS and BU – do the reflection at the same time. Paint the tree reflections. Use a rigger to paint in some horizontal ripple lines of PG in the water. |
|
| For further information on the Wet into Wet technique that I use, I have several YouTube videos that you can refer too - below are a couple and you can see more on the YouTube Demonstrations page. | |
 |
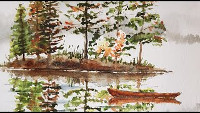 |
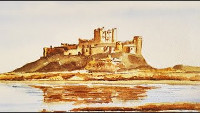
| Bamburgh Castle | Misty Lakeland Scene |